Showing posts with label sharpening. Show all posts

Tuesday, February 14, 2012

iPhone, iPad, Sharpening

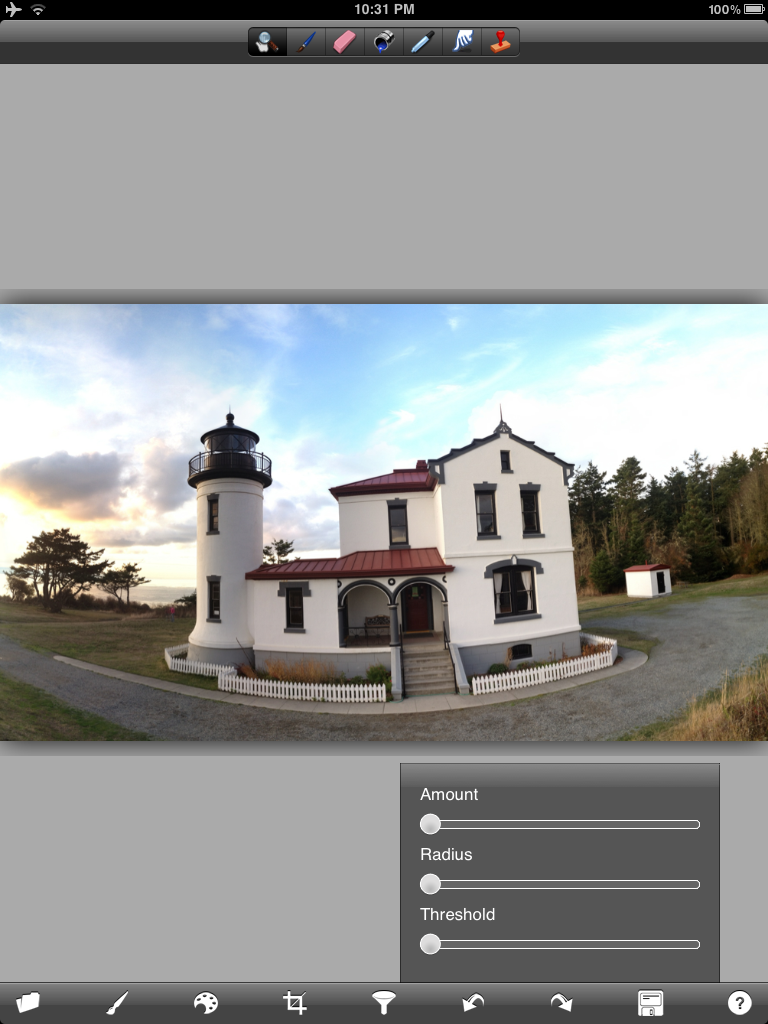
Rye Playland, Unsharp Mask
Took a day trip with my friend David to The Rye Playland which is about 10 miles from my house. Personally I love closed amusement parks with a preference for those parks that have been abandoned - not the case with Rye. Unfortunately the park was gated for the winter so we ended up shooting through or over the fences...reminder to bring a small ladder next time. But I digress...

While processing this iPhone4s image I decided to leave it fairly straight ahead and simply used an unsharp mask applied with a mask and opacity brush to highlight areas I wanted to direct the viewer to see first...with the side effect creating space in the image....The areas sharpened were the foreground boards, the building under the ride and the ride and poles in the middle...Each part of the image was sharpened with a different opacity which gives the image the perception of depth.

Most images need some form of sharpening to bring back details lost in digital conversion. While this might not be necessary when viewing on a screen sharpening becomes increasingly necessary when making a print. Of course there are many individual workflows that work without sharpening.......purely a matter of choice and a good tool to have in your arsenal...


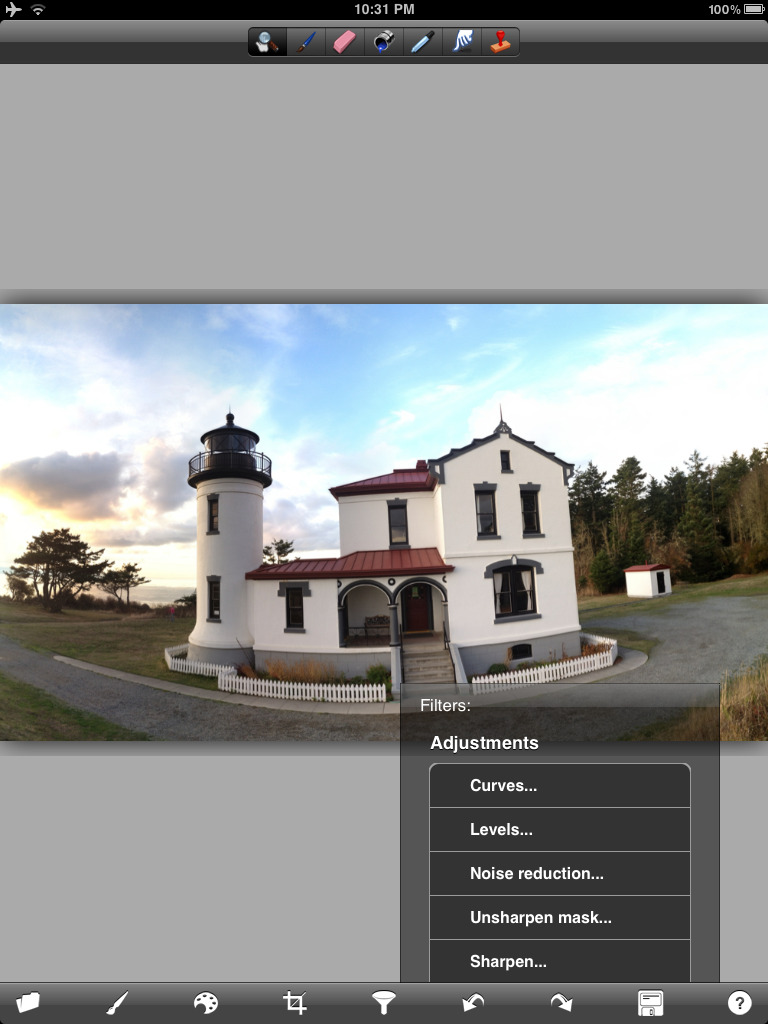
Rye Playland, Original Image

To learn more about sharpening and much more The Last Pixel Show is hosting several iPhone/iPad workshops this year. Click on the link above for ore information.

Additionally have a look at th efollowing links for more information of online training and one-on-one learning opportunities.


http://iphoneographywithterilou.blogspot.com/
http://iphone-antics.blogspot.com
https://www.facebook.com/TheLast.PixelShow

Here they are side by side...


Thursday, December 8, 2011

Zion National Park

Zion National Park
I arrived into Chicago today where I am shooting over the next three days. I was looking for something to put in my iPhone blog and came across this image from Zion National Park. Must be from about November 2009 - I did a bit of re-processing mostly with Snapseed (structure) and then oversharpened a bit in Filterstorm...Zion can be an amazing location in the winter - actually I have never been there at any other time...

Saturday, November 19, 2011

Whidbey Island, Photo Forge

Whidbey Island Lighthouse
This is a slightly different version of the Photo Forge workflow talked about on the Pixel-Show page yesterday. The basics are still the same in Photo Forge but the after treatment and sharpening are slightly different...I have worked up the basic treatment below - this was done on the old photo forge - I find that dialog a bit easier to get around and the results, at least for me, are better:

1, Once your image is loaded hit the funnel (yes the funnel) which will expose the Unsharp Mask icon.

2. Tap the unsharp mask icon to reveal the USM dialog:

3. There are several ways to use this USM. You can run the amount all the way up and then use the radius to your liking or you can do the reverse - radius up and amount down. They will effect the image in different ways - this is actually a sharpening method that comes from using phototshop and you should navigate your own way to what you might like. Lately I have changed to using the set-up below. When this was first introduced there were very few choices as to how to get this look - now there are several new apps that do a better job - but start here and play a bit.

4. The alternative way using forge is to just use the sharpen slider - USM if not done correctly will add artifacts into the image and depending on the image sharpen works just as well. I usualy start with the strength below.....


5. Once sharpened navigate (scroll down) and find the oil painting and watercolor sliders. You can use one or both - yo can use one - resharpen and then use the other - it is all trail and error depending on the look you are after.  As Teri Lou says PLAY PLAY PLAY


6. At 100% opacity the image will look something like this:


7. Adjust the slider to your taste.....

8. A combo of both watercolor and oil paint.....


9. Combo with adjusted opacity....


10. My starting point for the image above.....


At this point it is completely up to your creativity as to what happens next. I always like to have some clarity in the image so the subject stands out....I use Dynamic Light, Filterstorm, Snapseed and Blender to work up the final look. I even used Iris on the image posted today....
Take a Last-Pixel Show Workshop and learn more creative choices for your iPhone imagery - not to mention printing techniques and much more....If you can't make a workshop then take one of Teri Lou's online courses - they are perfect for learning basics and much more....


Wednesday, September 21, 2011

Selective Local Control

Original from iPhon
Kathleen Stevens, one of the students in the Carmel workshop a few weeks back has been working on this image for several days. I thought the image and it's variations would be a good iPhone/iPad processing tip. The original image is above....

After several days the image below was posted to our student facebook page...I felt she had a good image but wanted to create more separation to make the car stand out a bit more. Also, the trees growing out o the roof of the car had to go....I would have wanted a clean line to show off the curve of the roof.

The image below is after much hard work by Kathleen in Touch-Retouch....I admire her persistence..Darkening the sky also helped the focus on the car....the eye is always attracted to lighter areas...

Now I am thinking this wold be a good lesson to show a few tips on local processing so the car pops off the page - after all it is the star of this show....So here is the car locally sharpened in Filterstorm by painting the sharpness into the area selected - this pops the car out a bit..

Then I thought why not use this and add a bit of saturation using the same Filterstorm workflow to bring even more attention to the car.......

And lastly you can use a vignette to bring even more attention to the car - darkening the edges makes the eye move to the middle of the frame....

I have been holding workshops in tandem with Teri Lou Dantzler. Check out our blogs below for more information on these workshops.Come learn creative ways to use your iPhone/iPad - and then print the image.........