
 |
| Whidbey Island Lighthouse |
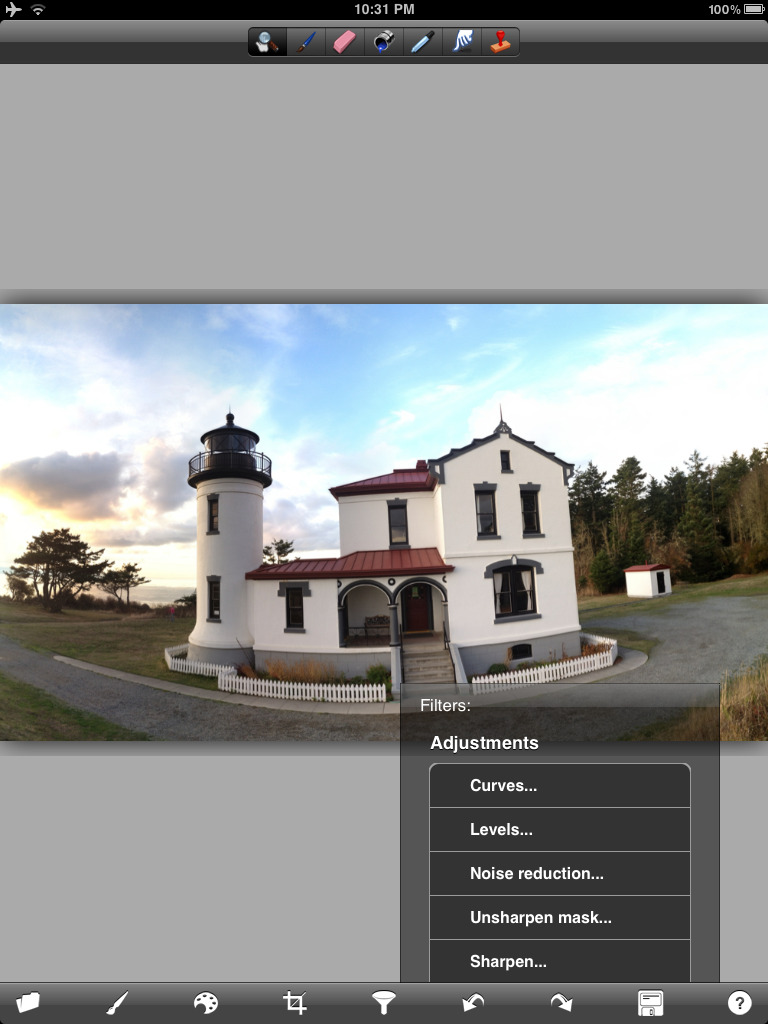
1, Once your image is loaded hit the funnel (yes the funnel) which will expose the Unsharp Mask icon.
2. Tap the unsharp mask icon to reveal the USM dialog:
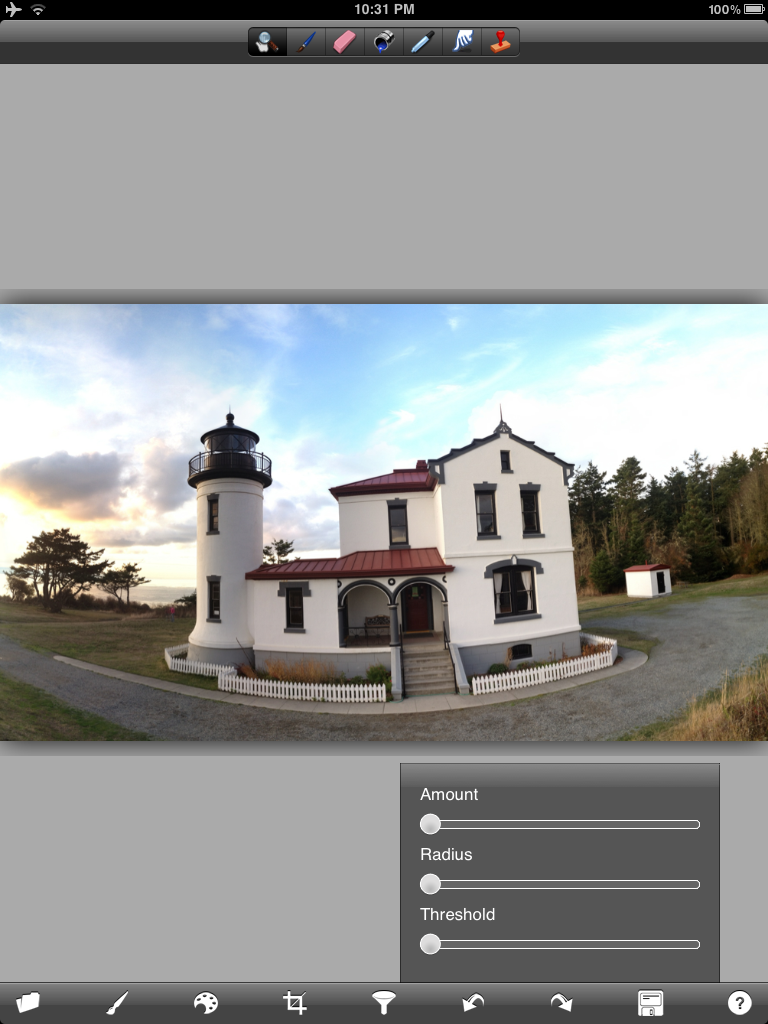
3. There are several ways to use this USM. You can run the amount all the way up and then use the radius to your liking or you can do the reverse - radius up and amount down. They will effect the image in different ways - this is actually a sharpening method that comes from using phototshop and you should navigate your own way to what you might like. Lately I have changed to using the set-up below. When this was first introduced there were very few choices as to how to get this look - now there are several new apps that do a better job - but start here and play a bit.

4. The alternative way using forge is to just use the sharpen slider - USM if not done correctly will add artifacts into the image and depending on the image sharpen works just as well. I usualy start with the strength below.....

5. Once sharpened navigate (scroll down) and find the oil painting and watercolor sliders. You can use one or both - yo can use one - resharpen and then use the other - it is all trail and error depending on the look you are after. As Teri Lou says PLAY PLAY PLAY

6. At 100% opacity the image will look something like this:

7. Adjust the slider to your taste.....

8. A combo of both watercolor and oil paint.....

9. Combo with adjusted opacity....

10. My starting point for the image above.....

At this point it is completely up to your creativity as to what happens next. I always like to have some clarity in the image so the subject stands out....I use Dynamic Light, Filterstorm, Snapseed and Blender to work up the final look. I even used Iris on the image posted today....
Take a Last-Pixel Show Workshop and learn more creative choices for your iPhone imagery - not to mention printing techniques and much more....If you can't make a workshop then take one of Teri Lou's online courses - they are perfect for learning basics and much more....
No comments:
Post a Comment